Updated 4 min
Wemos Soil-Moisture Sensor: from Wiring to ThingSpeak
Build a Wemos D1 soil-moisture monitor: wire and calibrate a capacitive sensor, convert ADC readings, and send data and alerts through ThingSpeak.
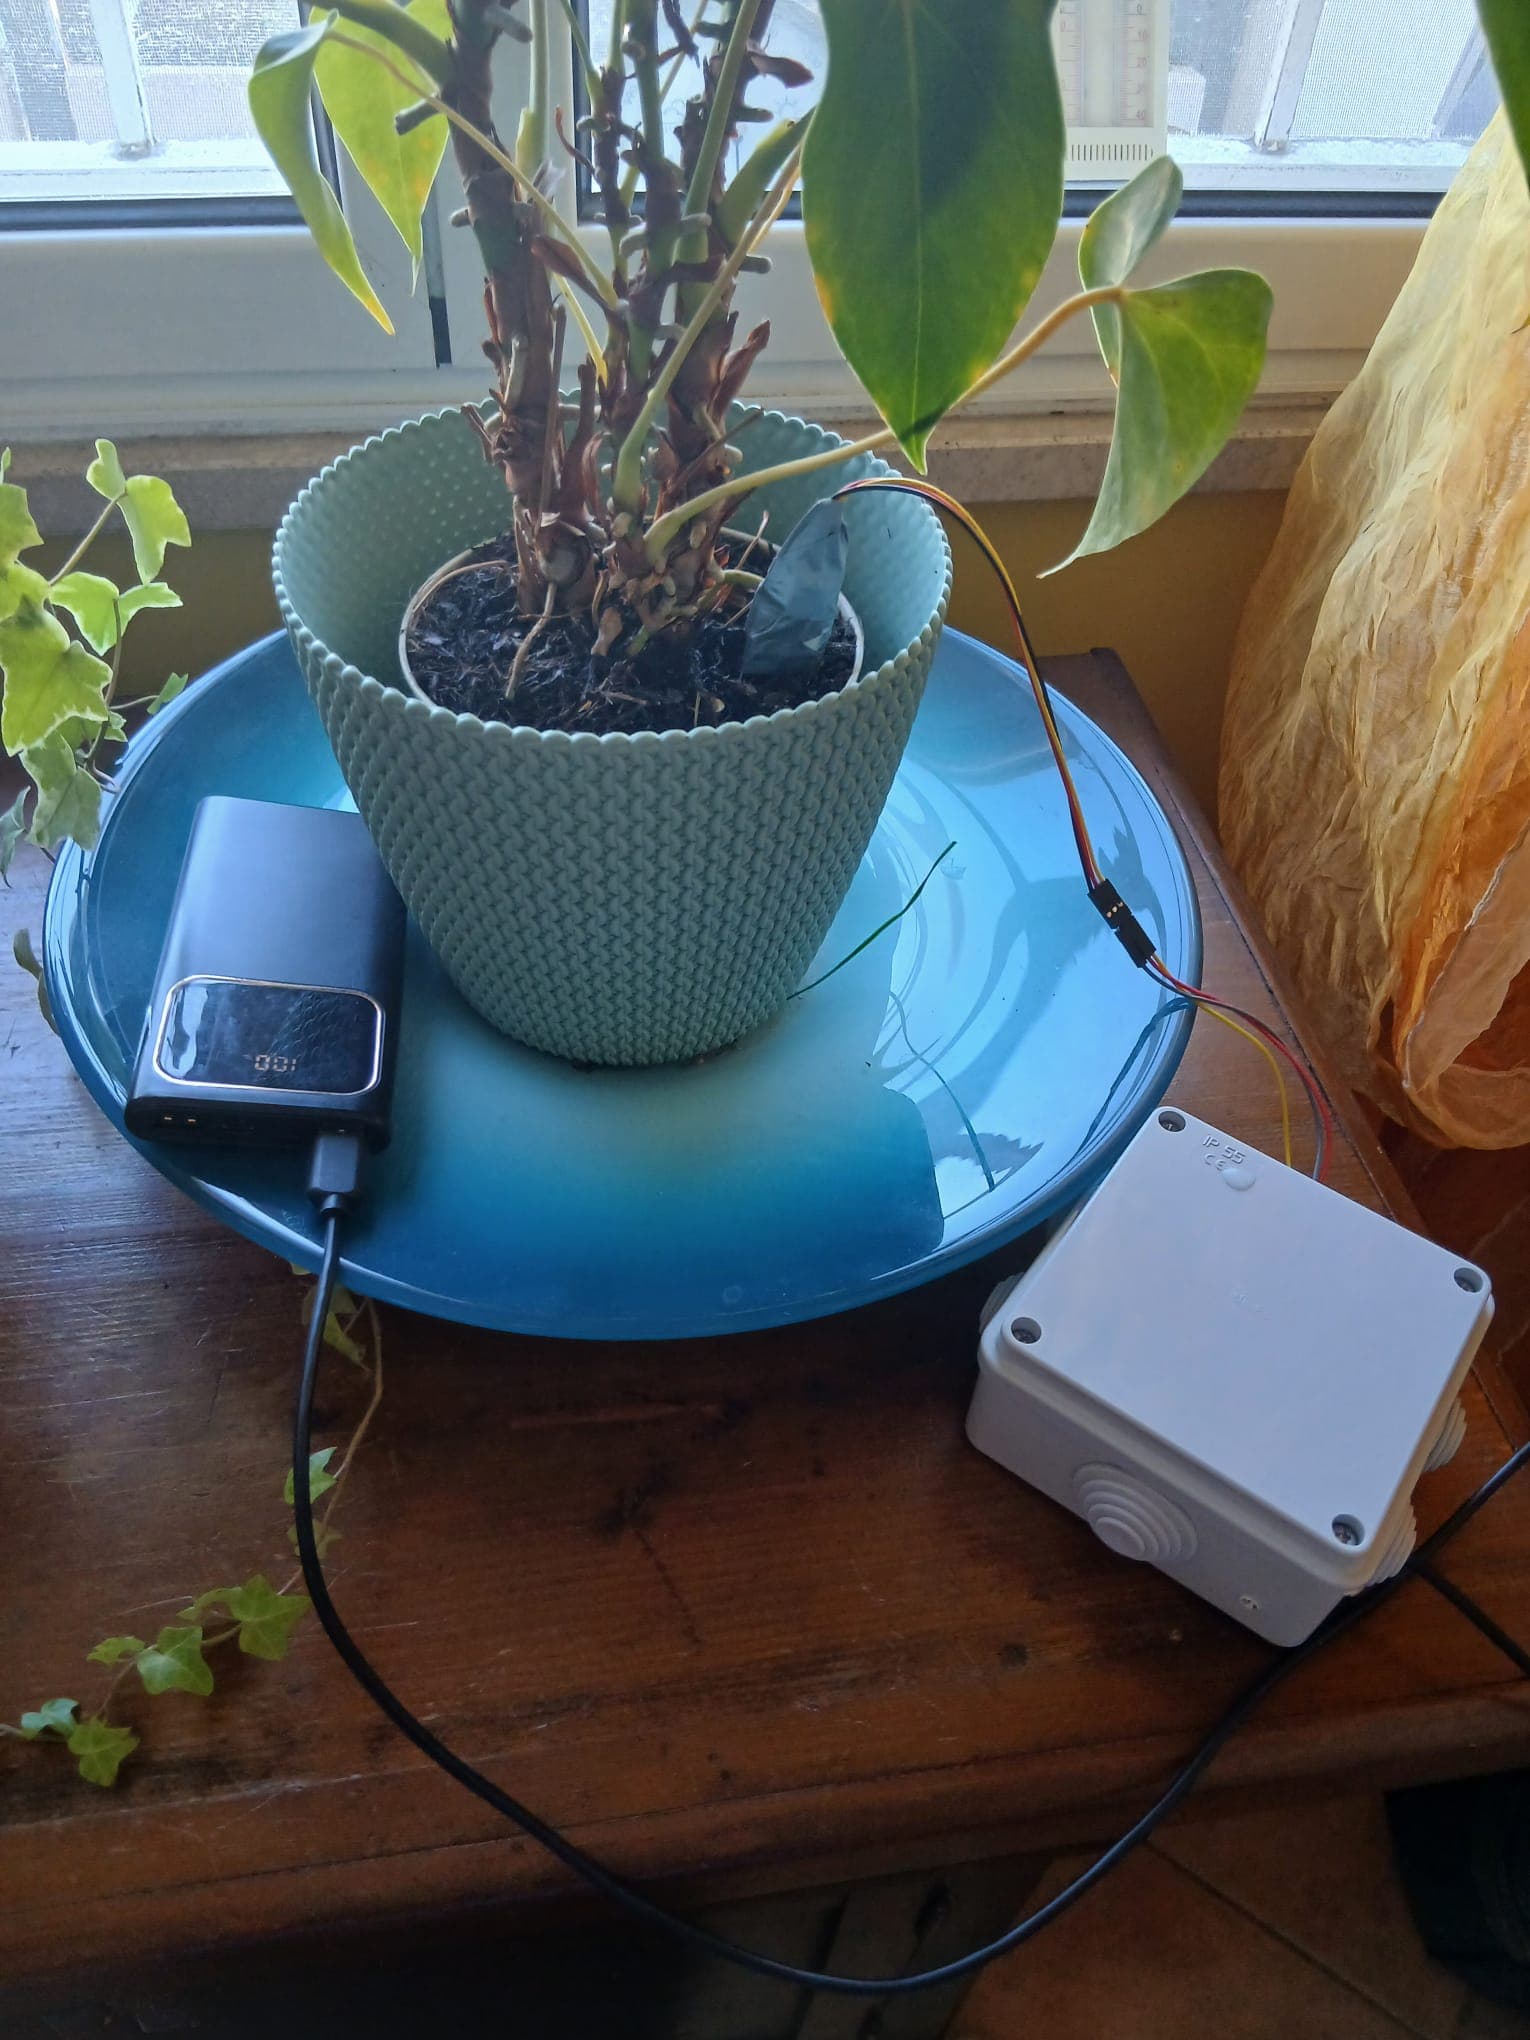
In this short post I want to describe the little moisture sensor I built to keep an eye on my plants. I'm a keen home cook, basil is lovely on cold dishes, and it is high summer as I write this.
These are the steps I followed to build my little soil-moisture sensor, from the hardware all the way to the cloud.
Hardware
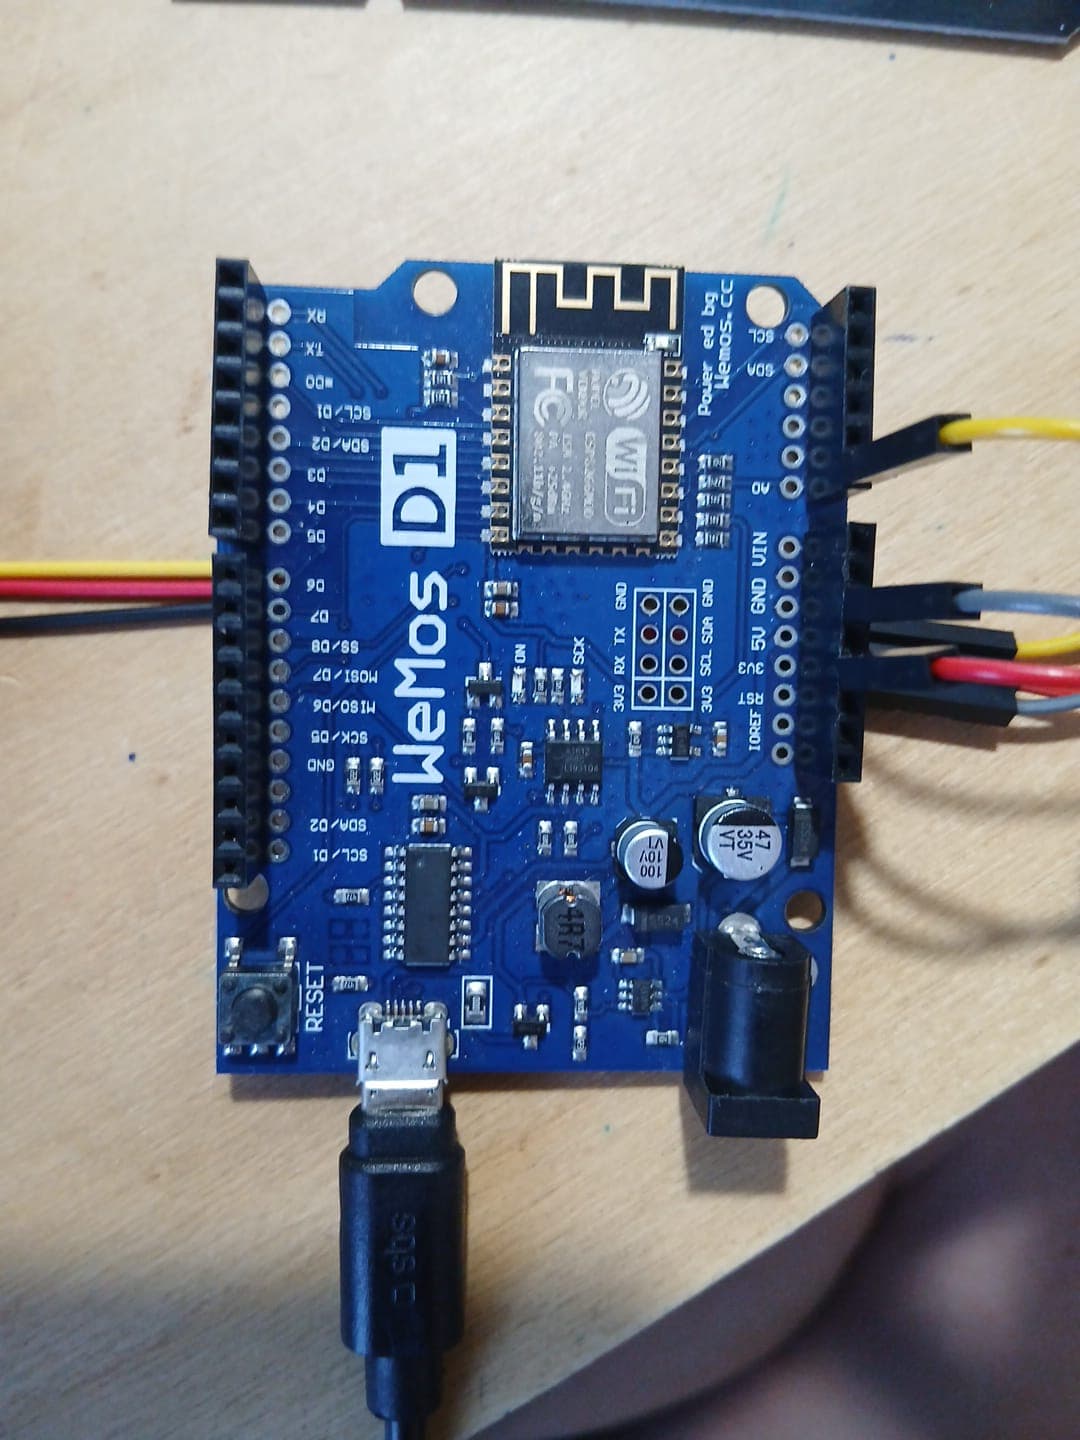
I used a jumper cable (three wires) to connect the sensor to the Wemos. The jumper has to be the male-to-male type.
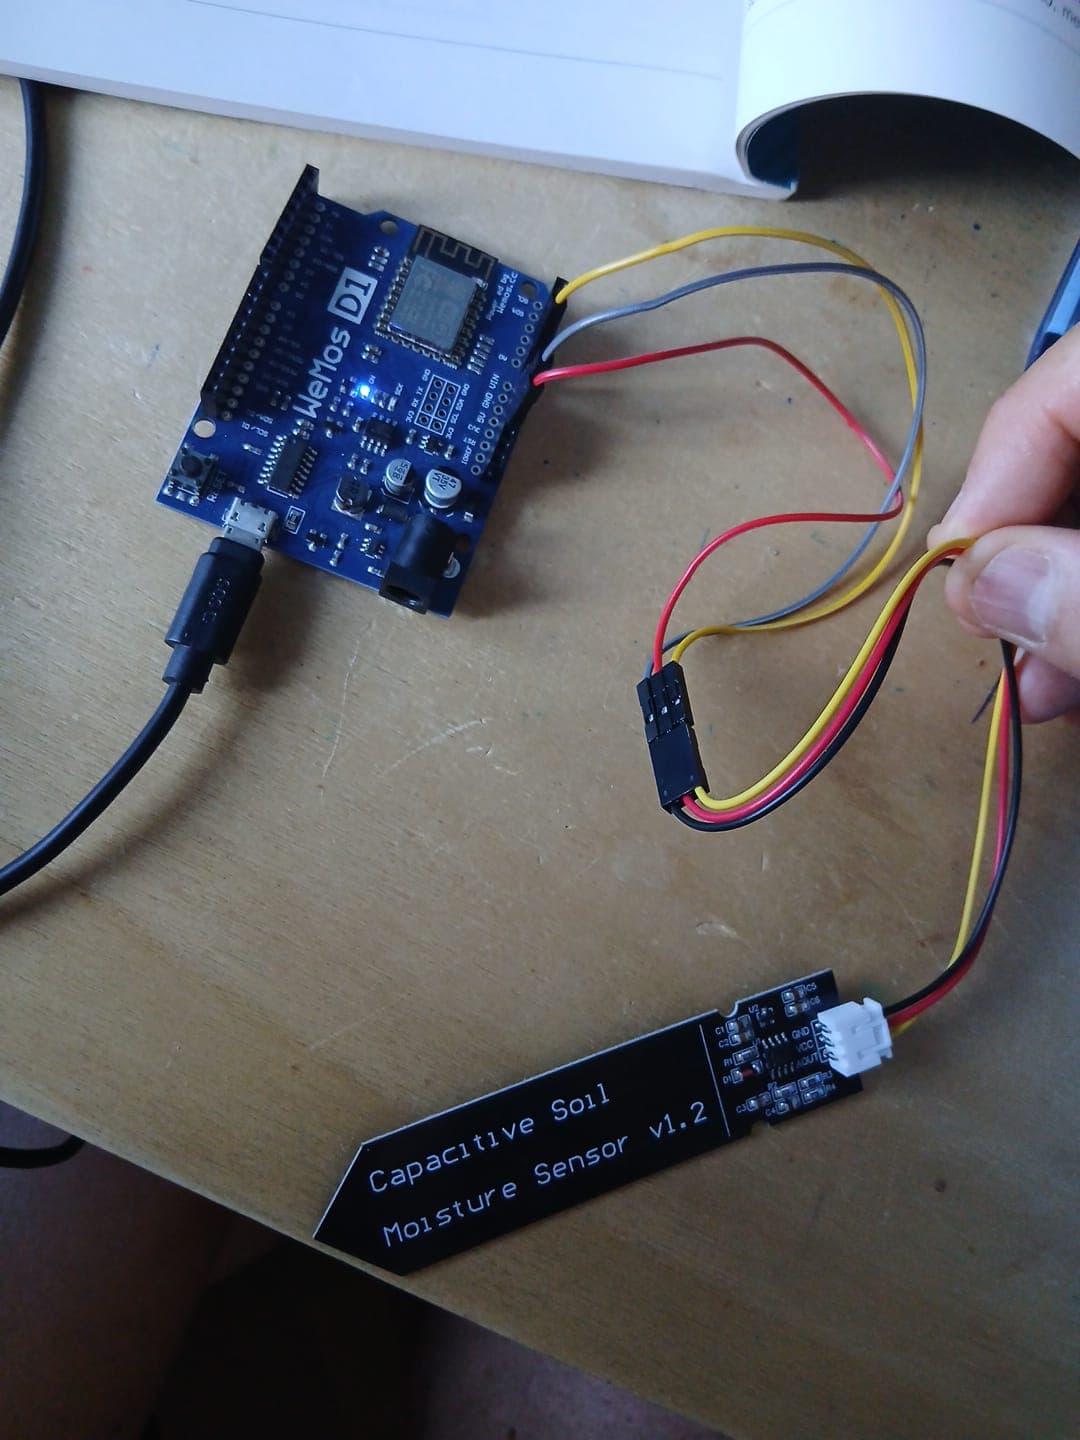
Then I connected the wires following this logic:
| Wemos | Sensor |
|---|---|
3V3 | VCC |
GND | GND |
A0 | AOUT |
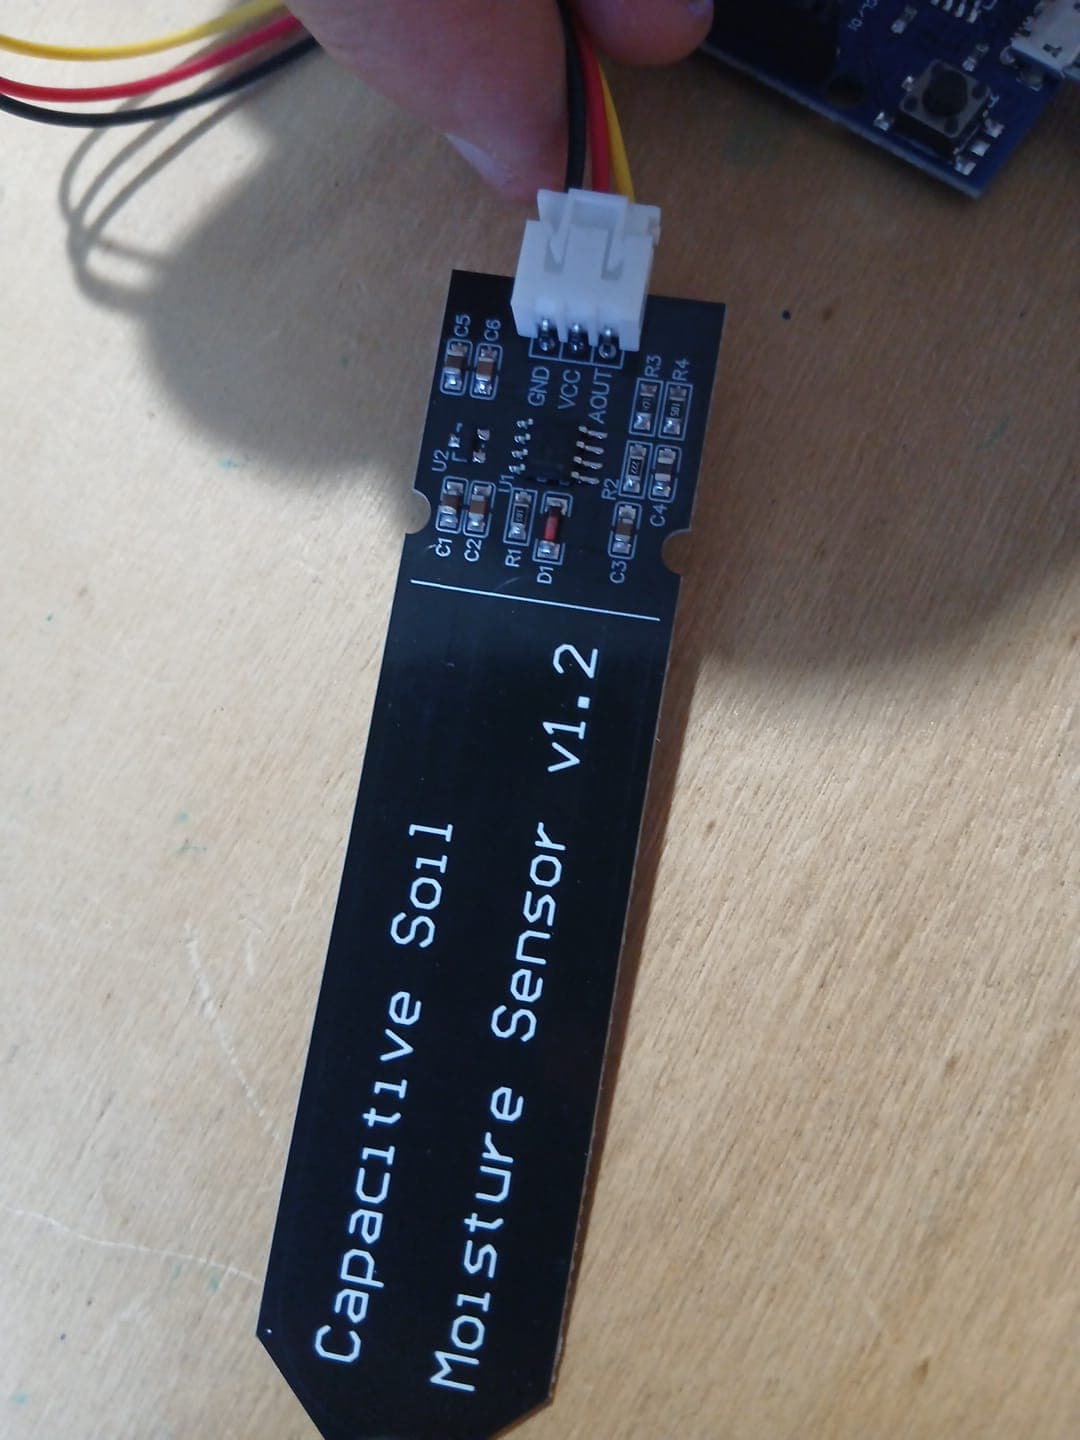
Once everything was connected, I took a cable with a micro-USB-B connector for the Wemos, with the USB-A end going to the laptop. This way the laptop both powers and manages the sensor over USB.
The 3.3 V supplied by the Wemos powers the sensor, and GND closes the circuit
both for the power and for the sensor's AOUT output. GND is what closes the
circuit (ground, the common return).
This is a capacitive sensor. The traces in the probe act as a capacitor, and
water in the soil changes the material's effective permittivity. The onboard
circuit turns that change in capacitance into an analog voltage on AOUT. Unlike
a resistive probe with exposed electrodes, it does not estimate moisture by
passing direct current through the soil, so it is less prone to corrosion.
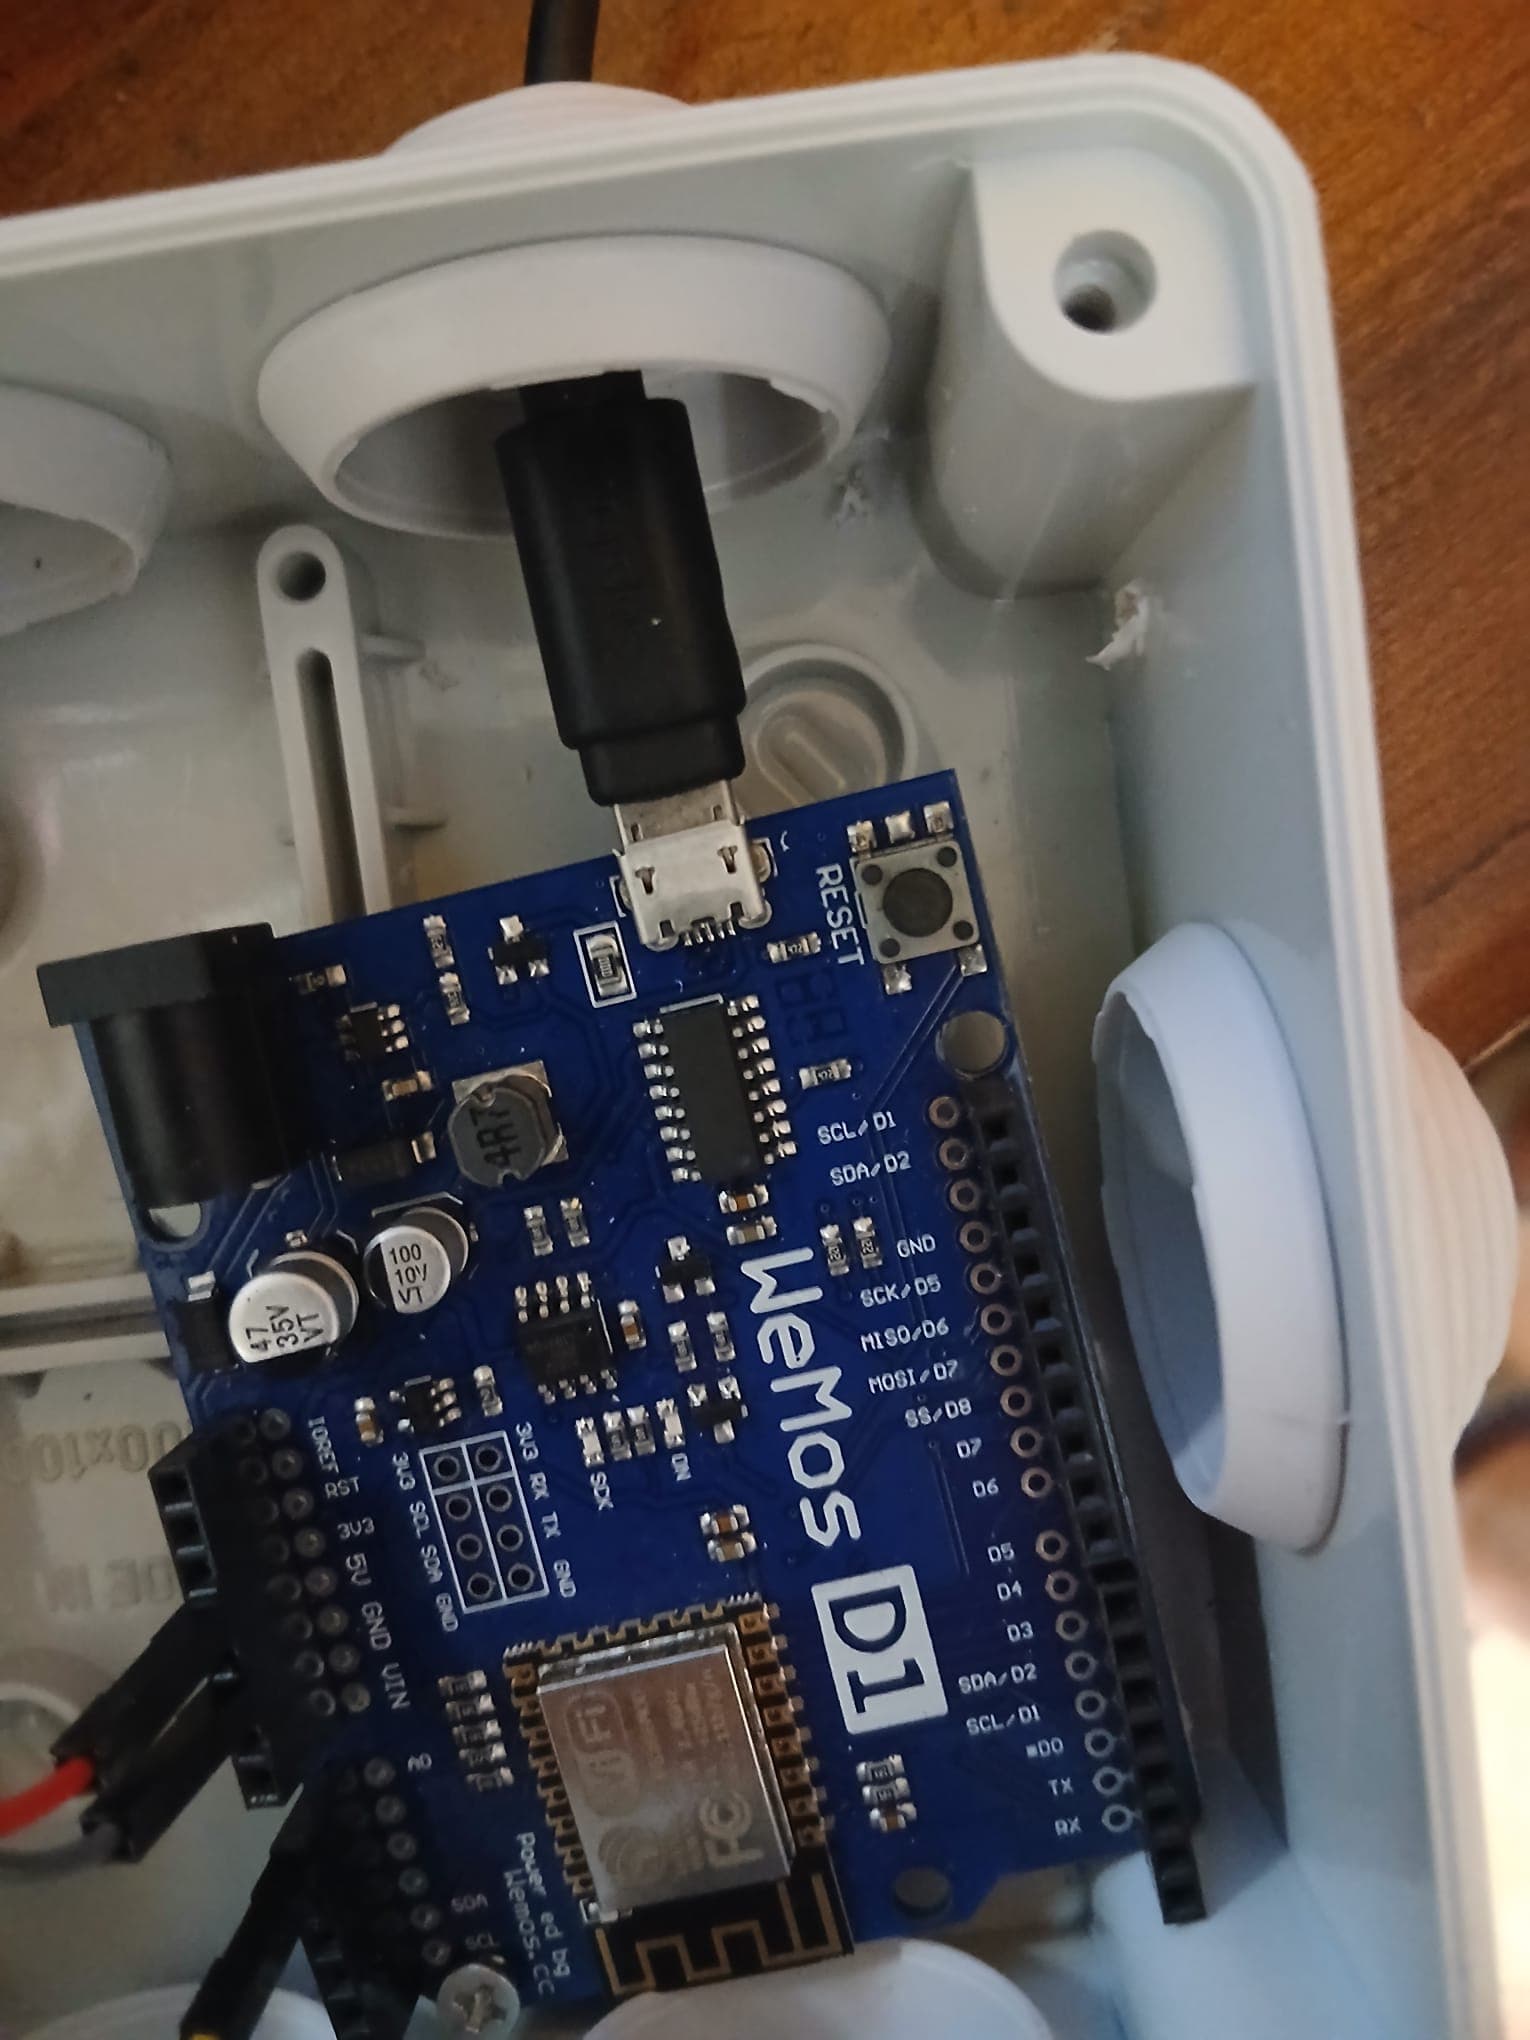
For developing and calibrating it, the laptop is enough. In the finished build I later moved the Wemos into a small weatherproof box powered by a USB power bank.
From analog to digital: the ADC
AOUT is connected to the A0 pin of the Wemos. Behind that pin sits an
analog-to-digital converter (ADC). It samples the analog voltage and
represents it as a whole number, for example:
633
A0 pin feeds the onboard ADC.Firmware
At this point the values coming out of the ADC are processed by the firmware, code written in C++ that converts the voltage into a percentage through a linear transformation. These are the tests I ran:
- 270 → maximum moisture. I got this value by putting the sensor in water (100 % on this calibration scale).
- 633 → maximum dryness. I got this value with the sensor dry (0 % humidity). These endpoints are empirical and specific to this sensor, board, and supply voltage, so another build should be calibrated with its own wet and dry readings.
From these two points the percentage comes out of a simple linear formula:
                 633 − reading
humidity %  =  ─────────────────── × 100
                  633 − 270
A reading of 270 gives 100 %, a reading of 633 gives 0 %, and everything in between falls on a straight line. In C++ it is just a few lines:
const int WET = 270;   // sensor in water → 100%
const int DRY = 633;   // sensor dry      →   0%

float readMoisture() {
  int raw = analogRead(A0);
  return (float)(DRY - raw) / (DRY - WET) * 100.0;
}
Network and cloud
Once the percentage is ready, the firmware makes an HTTP call to the ThingSpeak API, which shows the percentage values on a line chart in its dashboard.
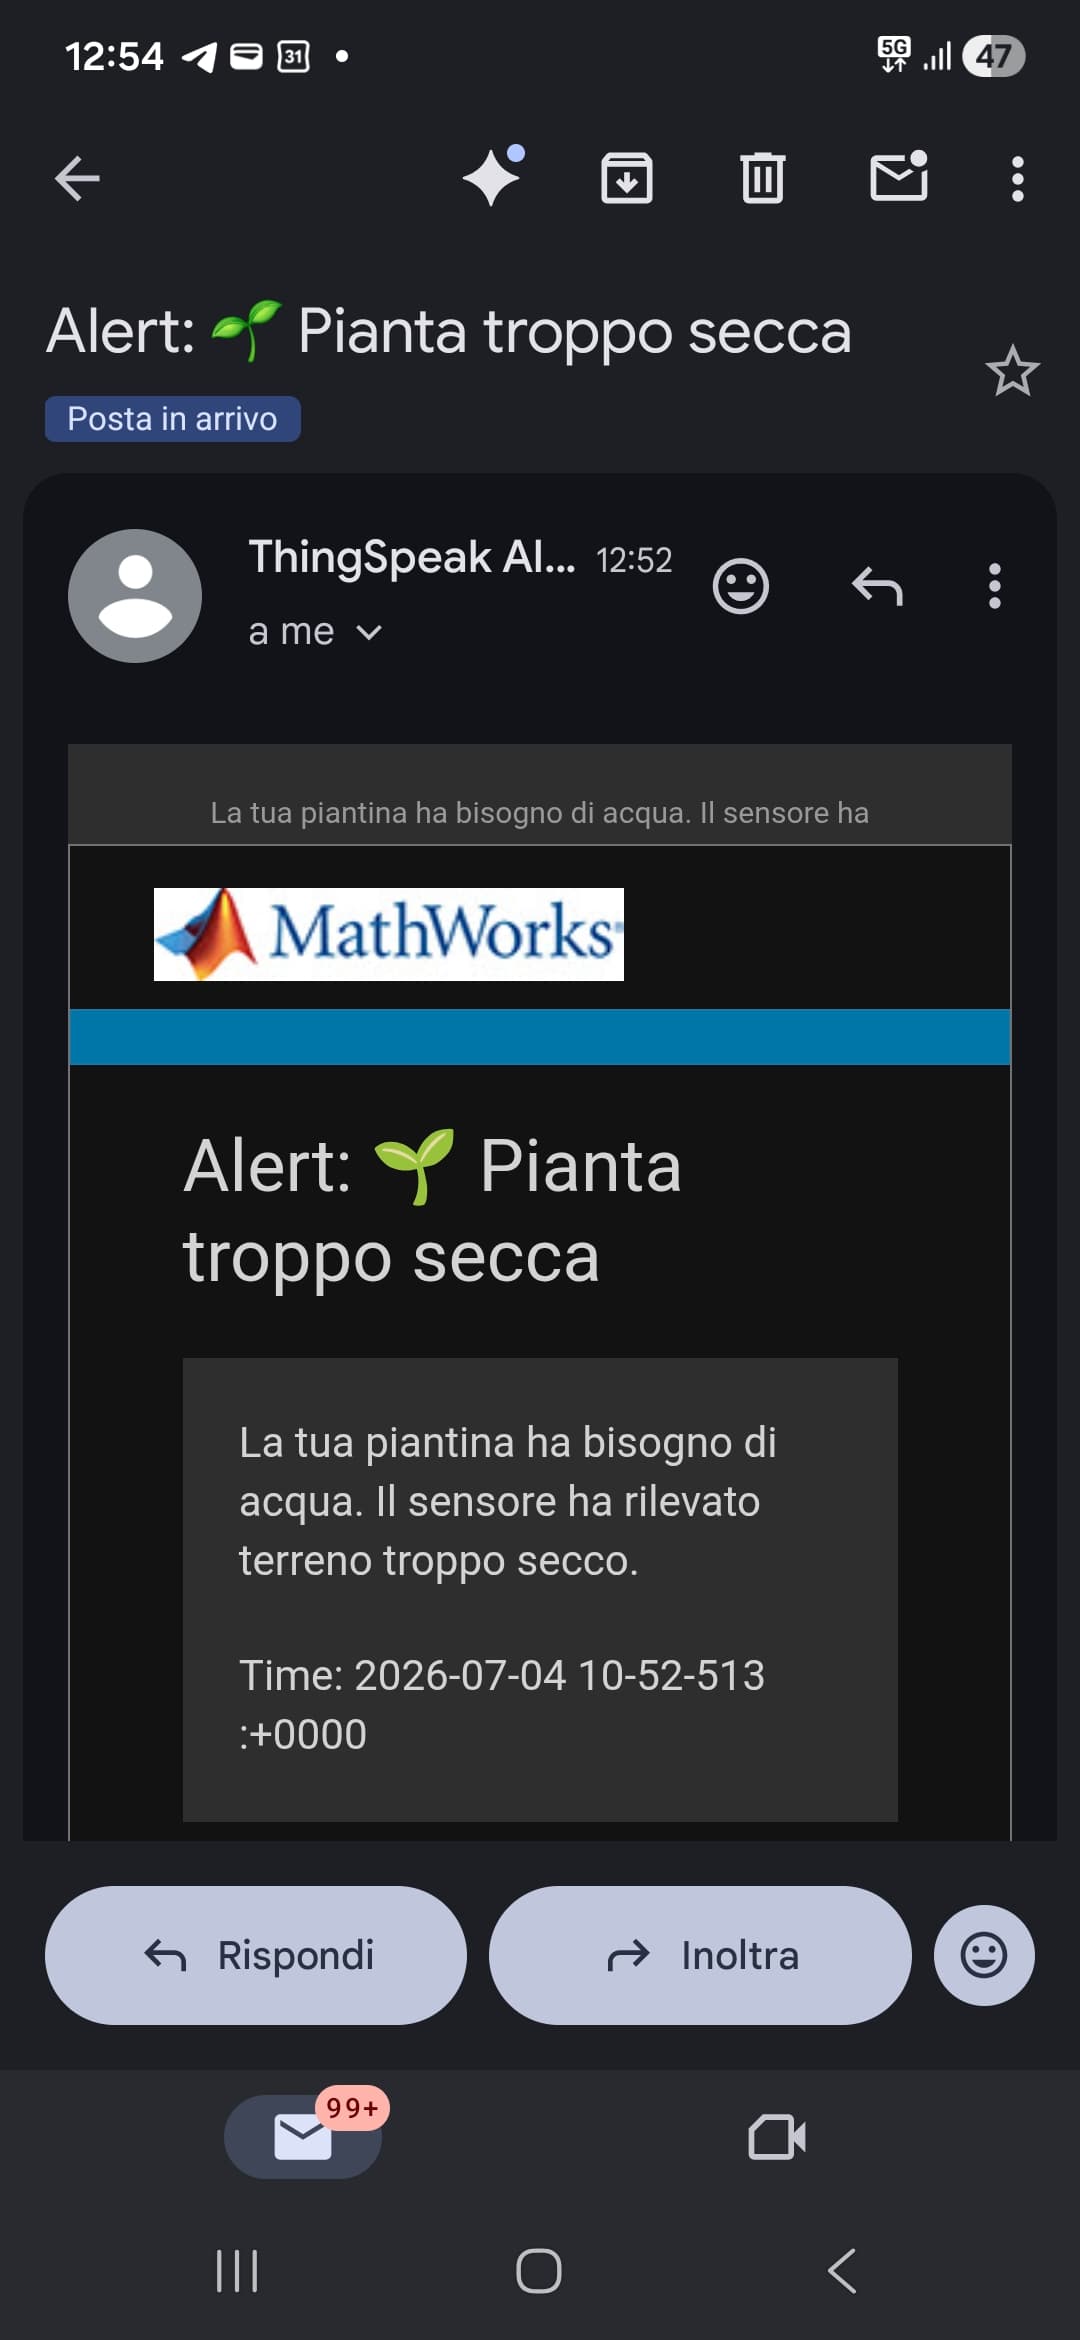
And that is the whole path: the soil changes the sensor's reading, the ADC turns it into a number, the firmware turns that number into a percentage, and ThingSpeak turns the percentage into something I can watch from anywhere.
Sources and further reading

Written by Giulia Guglielmi
Notes on electronics, IoT, and software.